Most Dr Brown sterilizer dryers need simple cleaning or reseating to fix common faults.
I have worked with baby gear and small appliances for years, and I know the Dr Brown Sterilizer And Dryer Troubleshooting process inside out. This guide breaks down common failures, clear diagnostics, and step-by-step fixes you can try at home. Read on to get confident, practical answers so you can restore safe, dry bottles quickly.

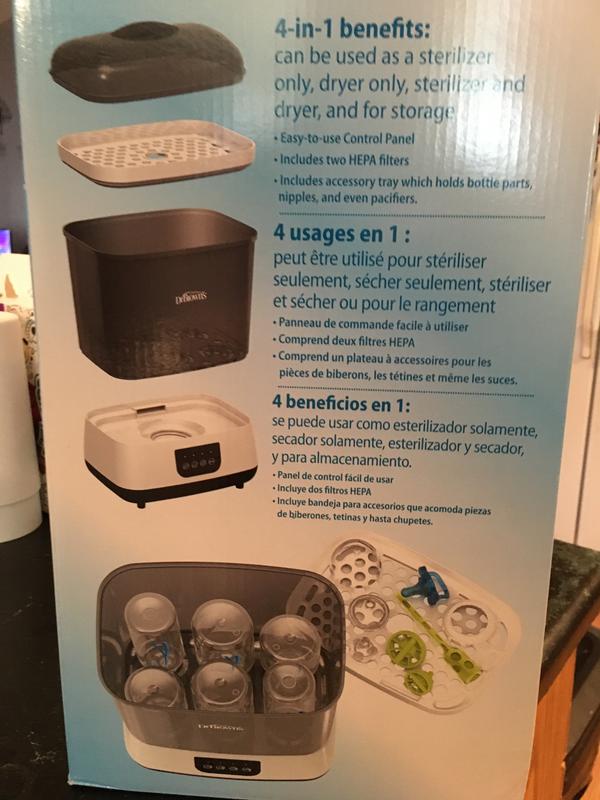
How the Dr Brown Sterilizer And Dryer Works
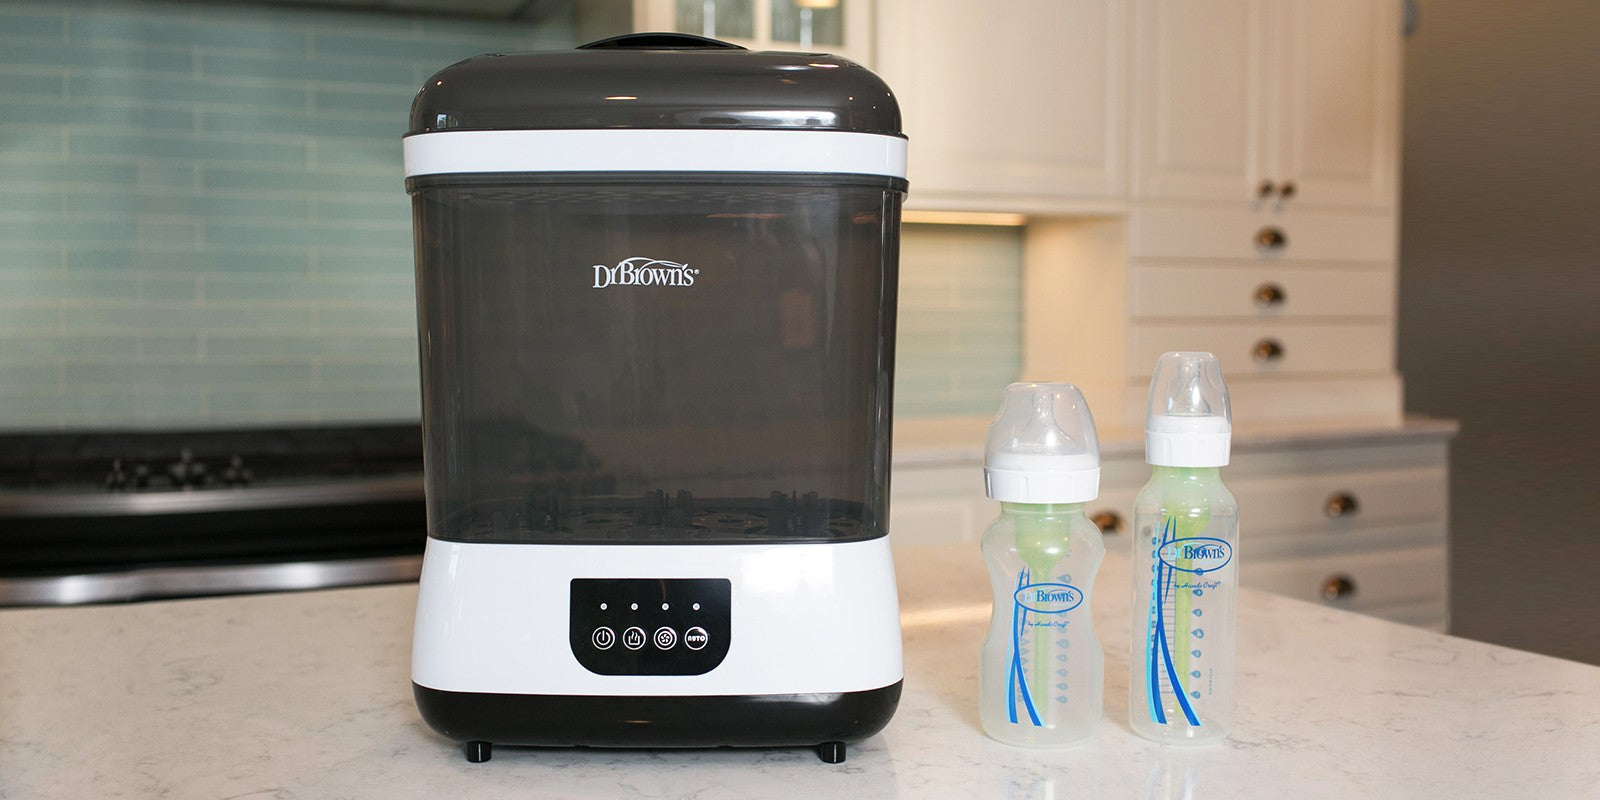
The Dr Brown Sterilizer And Dryer heats water to produce steam. Steam kills bacteria and sterilizes bottles and parts. After sterilizing, a built-in fan or heat cycle dries items to reduce moisture. The unit uses simple electronics, a heating element, and vents to move warm air.
Knowing how it works helps with troubleshooting. Most problems come from three places:
- Electrical supply or power issues.
- Limescale or residue on the heating element.
- Blocked vents, sensors, or control faults.
Understanding the parts speeds up diagnosis when you do Dr Brown Sterilizer And Dryer Troubleshooting. Start by checking power, then clean, and finally test cycles to isolate the issue.
Common Issues and Their Causes
Here are the common problems you will see during Dr Brown Sterilizer And Dryer Troubleshooting and why they happen.
- Unit will not turn on
- Cause: Power cord loose, fuse, or outlet problem.
- Sterilizing lights blink or error codes
- Cause: Sensor fault, door not seated, or internal jam.
- Items stay wet after cycle
- Cause: Vent blocked, fan failed, or insufficient heat during cycle.
- Strange smells or residue
- Cause: Mineral buildup or old water left sitting.
- Water leaks or pooling
- Cause: Overfill, cracked reservoir, or misaligned parts.
- Excessive noise
- Cause: Fan obstruction or worn motor bearings.
Each issue maps to clear fixes. When you perform Dr Brown Sterilizer And Dryer Troubleshooting, work from easiest checks to more complex steps.

Step-by-Step Dr Brown Sterilizer And Dryer Troubleshooting Guide
Follow this order for most effective troubleshooting.
- Safety first
- Unplug the unit. Let it cool completely.
- Check power
- Plug another device into the same outlet. Try a different outlet. Inspect the cord for damage.
- Inspect the lid and seating
- Make sure the lid clicks fully. Clean the latch and rim. A loose lid can stop cycles.
- Empty and clean the reservoir
- Remove water. Wipe the heating plate and reservoir. Use a soft cloth.
- Descale if needed
- Mix equal parts white vinegar and water. Run a short cycle then rinse twice. This removes mineral buildup.
- Clear vents and fan
- Use a soft brush or compressed air to clear dust. Check that the fan spins freely.
- Test a short cycle
- Run a quick sterilize-only cycle with no parts. Listen for normal sounds and watch for error indicators.
- Reset the unit
- Some models have a reset by unplugging for one minute. Try this after cleaning.
- Replace simple parts
- If the door switch or gasket looks worn, replace it with OEM parts. These are common failure points.
- Contact support
– If the unit still fails, note error lights and behavior before calling service.
Work slowly. Keep a notepad. When you do Dr Brown Sterilizer And Dryer Troubleshooting, documenting steps helps technicians if you need repair.

Cleaning and Maintenance to Prevent Problems
Routine care reduces the need for Dr Brown Sterilizer And Dryer Troubleshooting.
- Daily care
- Empty water after each use. Wipe the heating plate dry.
- Weekly care
- Wash removable racks and inserts in warm, soapy water.
- Monthly care
- Descale the reservoir using vinegar or a manufacturer-recommended descaler.
- Avoid harsh tools
- Do not use abrasive pads on the heating element or plastic parts.
- Store dry
- Leave the lid slightly open when stored to prevent mold.
Good maintenance extends life and lowers repair visits. My experience shows simple weekly habits prevent most common faults.

When to Repair or Replace Parts
Some problems need parts or pro help. Use these signs to decide.
- Replace the unit if:
- Multiple circuits or the main board fails repeatedly.
- The cost of repair exceeds half the price of a new unit.
- Repair or replace parts if:
- The fan or motor is noisy but serviceable.
- The door latch, gasket, or sensor is damaged.
- Heating element has light scale but still heats.
Keep receipts and serial numbers. This helps with warranty checks and getting the right replacement parts during Dr Brown Sterilizer And Dryer Troubleshooting.
Tips from Personal Experience
I once had a unit that would not dry at all. I tried many fixes. The issue was a small plastic film trapped in the vent after a packing mishap. Lesson learned:
- Always examine vents closely.
- Use slow, methodical checks.
- Keep spare gaskets and a basic tool kit.
Other helpful tips:
- Keep a small brush for vents.
- Mark the date when you descale.
- Photograph error lights before calling support.
These small habits save time when doing Dr Brown Sterilizer And Dryer Troubleshooting.
Safety and Best Practices
Stay safe when fixing small appliances.
- Unplug before any cleaning or part removal.
- Allow the unit to cool before touching heated surfaces.
- Use only recommended replacement parts to avoid electrical hazards.
- Do not submerge electrical parts.
- Keep the unit away from children during maintenance.
Safety reduces the risk of damage and keeps the sterilizer reliable for baby items.
Troubleshooting Checklist and Quick Fixes
Use this quick checklist when you start Dr Brown Sterilizer And Dryer Troubleshooting.
- Is the unit plugged in and outlet working?
- Is the lid fully closed and latched?
- Is the water reservoir clean and empty?
- Are vents and fan free of debris?
- Have you descaled in the last month?
- Does a reset (unplug 60 seconds) change behavior?
- Do parts look cracked or worn?
Try fixes in that order. Many users report success within 30 minutes using this checklist during Dr Brown Sterilizer And Dryer Troubleshooting.
Frequently Asked Questions of Dr Brown Sterilizer And Dryer Troubleshooting
How often should I descale my Dr Brown Sterilizer And Dryer?
Descale every 1 to 4 weeks depending on water hardness and usage. Hard water needs more frequent descaling.
Why does my sterilizer not dry bottles fully?
Bottles may stay wet if vents are blocked, the fan has failed, or the cycle is interrupted. Clean vents and run a full dry cycle.
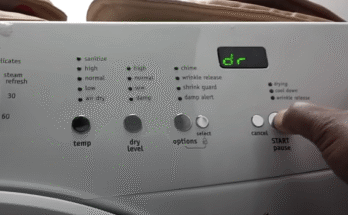
What does a blinking light mean on my unit?
Blinking lights often indicate a sensor or door issue. Try reseating the lid and resetting power. If blinking persists, service may be needed.
Is it safe to use vinegar to descale?
Yes, a diluted white vinegar solution is safe for descaling if rinsed thoroughly. Follow with two plain water cycles to remove residue.
When should I contact customer support?
Contact support if error codes persist after basic cleaning, if there are electrical smells, or if the unit leaks or fails to power on after checks.
Conclusion
You can fix many common faults with clear Dr Brown Sterilizer And Dryer Troubleshooting steps. Start with power checks, clean and descale, inspect vents, and test cycles. Keep records and replace simple parts when needed. With care, most issues are fast to solve and keep baby gear safe.
Take action now: run the quick checklist, try the simple fixes, and share your results or questions below. If problems persist, contact qualified service to avoid risks and get the unit back in safe working order.