Have you ever wondered how to get the most out of your Gua Sha tool? Using it the right way can unlock amazing benefits for your skin and overall well-being.
But if you’re not sure where to start, it can feel confusing or even ineffective. This guide will show you exactly how to use a Gua Sha tool correctly, so you can boost circulation, reduce puffiness, and reveal a glowing, refreshed complexion.
Keep reading—you’re just a few simple steps away from mastering this powerful skincare ritual.
Benefits Of Gua Sha
Gua Sha is an ancient technique that uses a smooth tool to massage the skin. This simple method offers many benefits for both skin and muscles. Regular use can improve your face and body health in gentle ways.
Boosting Circulation
Gua Sha helps increase blood flow in the skin. Better circulation means more oxygen and nutrients reach your cells. This supports skin repair and helps you look fresh. It can also reduce dullness and tired skin.
Reducing Puffiness
The tool helps move excess fluid away from the face. This reduces swelling and puffiness, especially around the eyes. Using Gua Sha can make your face appear slimmer and more defined. It also helps calm inflammation.
Relieving Muscle Tension
Gua Sha gently loosens tight muscles in the face and neck. This eases discomfort and stiffness. It can reduce headaches caused by muscle tightness. The relaxing effect also helps lower stress in your face.
Enhancing Skin Glow
Regular Gua Sha sessions can brighten your complexion. It stimulates the skin to renew and heal faster. This process helps reduce fine lines and uneven texture. The result is a natural, healthy glow that lasts.
Choosing The Right Tool
Choosing the right gua sha tool is important for a good skincare routine. The tool you pick affects how well you can use it. It also impacts your skin’s comfort and results. Focus on the material, shape, and size. These factors help you find a tool that fits your needs.
Material Options
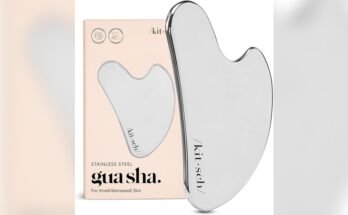
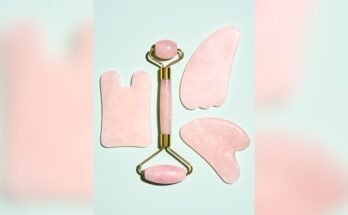
Gua sha tools come in different materials. Jade and rose quartz are popular choices. Jade feels cool and smooth on the skin. Rose quartz is gentle and has a soft pink color. Some tools are made from stainless steel. These are sturdy and easy to clean. Choose a material that feels good to touch and suits your skin type.
Shape And Size Considerations
The shape of the tool affects how you use it. Some tools have curved edges for the face. Others have flat edges for the body. Small tools work well for delicate areas like under the eyes. Larger tools cover bigger areas like cheeks and neck. Pick a size and shape that fit your face and hands comfortably.
Preparing Your Skin
Preparing your skin is an important step before using a Gua Sha tool. It helps the tool glide smoothly and protects your skin. Clean, hydrated skin improves the tool’s effectiveness. Follow simple steps to get your skin ready for a relaxing and beneficial Gua Sha session.
Cleansing Techniques
Start with a gentle cleanser to remove dirt and oil. Use lukewarm water to open your pores. Clean skin stops dirt from scratching your face during the massage. Pat your face dry with a soft towel. Avoid rubbing to prevent irritation.
Applying Facial Oil
Apply a few drops of facial oil to your skin. The oil creates a smooth surface for the Gua Sha tool. It helps the tool move easily without pulling the skin. Choose oils like jojoba, rosehip, or argan for best results. Spread the oil evenly on your face and neck before starting.

Basic Gua Sha Movements
Basic Gua Sha movements help improve skin health and relaxation. Using gentle pressure and the right strokes can reduce puffiness and boost circulation. Follow simple steps for different face areas to get the best results.
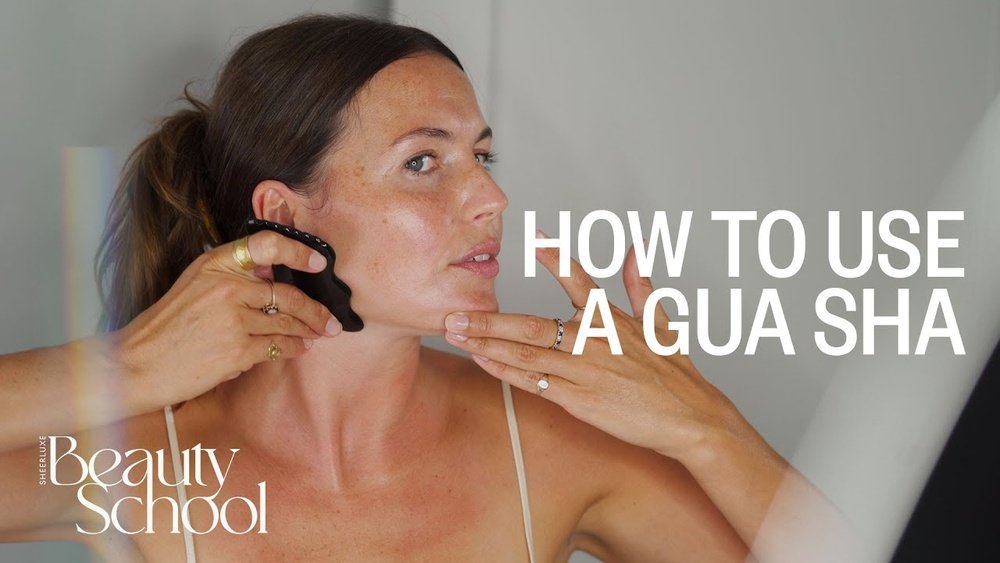
Neck And Jawline Strokes
Start at the base of your neck. Glide the tool upward toward the jawline. Use smooth, gentle strokes. Repeat several times on each side. This helps drain lymph and reduce tension.
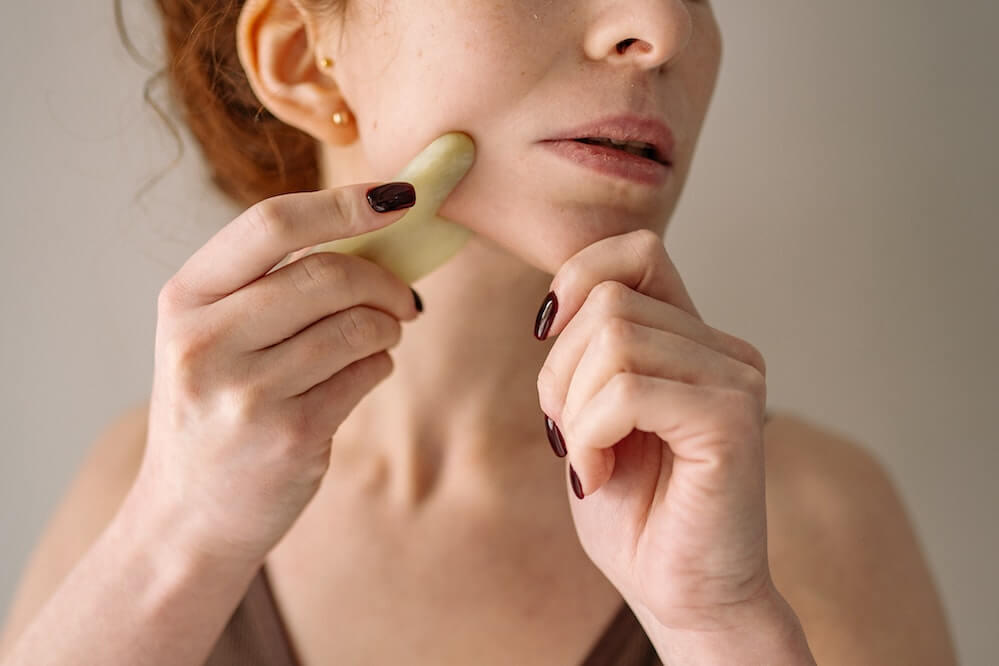
Cheek And Under-eye Techniques
Place the tool on your cheek near the nose. Move it outward toward the ear. Use light pressure under the eyes to avoid irritation. These strokes help reduce puffiness and brighten the skin.
Forehead And Brow Lifts
Begin at the center of your forehead. Sweep the tool outwards toward the temples. Use the curved edge to lift the brow area. This motion smooths wrinkles and relaxes muscles.
Pressure And Angle Tips
Using a gua sha tool correctly depends on two key things: pressure and angle. These affect how well the tool works on your skin. Too much pressure can hurt or irritate your face. Too little pressure might not give any benefits. The angle of the tool also changes how it moves on your skin. The right angle helps to lift and smooth your skin gently.
Finding The Right Pressure
Start with light pressure. Your skin should feel a gentle massage, not pain. Press too hard, and your skin may turn red or bruise. Use soft strokes and increase pressure slowly. Stop if your skin feels sore. Use more pressure on thicker skin areas like your cheeks. Use less pressure on delicate areas like under your eyes.
Maintaining Proper Tool Angle
Hold the gua sha tool at a 15 to 30 degree angle to your skin. The tool should lie almost flat but still touch the skin. This angle helps the tool glide smoothly without scraping. Keep the angle steady as you move the tool. Change the angle only when shifting to a different face area. Keep strokes long and gentle for best results.

Common Mistakes To Avoid
Using a Gua Sha tool can bring many benefits. Yet, mistakes can reduce its effects or cause harm. Avoid these common errors to get the best results. Simple steps make your routine safe and effective.
Using Too Much Force
Pressing hard is a common mistake. Gua Sha should feel gentle and smooth. Too much force can hurt your skin and cause bruises. Use light, even pressure. Let the tool glide over your skin without dragging.
Skipping Skin Prep
Many skip preparing their skin before use. Always clean your face first. Apply oil or moisturizer to help the tool move easily. Dry skin increases friction and irritation. Skin prep protects and improves the massage.
Ignoring Tool Hygiene
Not cleaning your Gua Sha can lead to bacteria buildup. Wash it with mild soap and water after each use. Dry it completely before storing. Clean tools keep your skin healthy and avoid infections.
Incorporating Gua Sha Into Your Routine
Adding Gua Sha to your skincare routine can improve your skin’s health and appearance. It helps with better circulation and reduces puffiness. Using the tool the right way brings the best results and feels relaxing.
Start by understanding how often to use the tool. Also, learn how to pair it with other skincare steps for maximum benefit.
Frequency Recommendations
Use Gua Sha two to three times each week. This schedule allows your skin to rest and recover. Avoid daily use at first to prevent irritation. As your skin adjusts, you may increase to every other day. Pay attention to how your skin reacts. Stop if you notice redness or discomfort. Regular use helps with lymphatic drainage and skin tone.
Combining With Other Skincare Steps
Apply a facial oil or serum before using Gua Sha. This prevents pulling or tugging on your skin. It helps the tool glide smoothly. Follow with your usual moisturizer after the massage. Use gentle, upward strokes with the tool. Avoid using Gua Sha on broken or sensitive skin. Combining it with cleansing and moisturizing boosts skin benefits. Use the tool after cleansing for best results.
Aftercare For Lasting Results
After using a Gua Sha tool, proper care helps keep your skin healthy and glowing. Taking steps right after treatment supports your skin’s healing and boosts the benefits. Simple habits can improve the effects of your Gua Sha routine. Here are key tips to follow for lasting results.
Hydration Tips
Drink plenty of water to keep your skin hydrated from inside. Hydrated skin heals faster and looks smoother. Apply a gentle moisturizer after your Gua Sha session. Choose a product that soothes and nourishes. Avoid heavy creams that can clog pores. Light oils like rosehip or jojoba work well. They help lock in moisture and calm the skin.
Protecting Skin Post-treatment
Avoid direct sun exposure after using the Gua Sha tool. Your skin is more sensitive and can burn easily. Use sunscreen with at least SPF 30 if you go outside. Skip harsh skincare products like retinol or acids for 24 hours. These can irritate freshly treated skin. Be gentle when washing your face. Pat dry instead of rubbing to prevent redness.
Frequently Asked Questions
What Is The Best Way To Hold A Gua Sha Tool?
Hold the Gua Sha tool at a 15-30 degree angle. Use gentle, upward strokes on your skin. This ensures effective scraping without irritation or damage.
How Often Should I Use A Gua Sha Tool?
Use your Gua Sha tool 2-3 times a week. This frequency helps improve circulation and reduce puffiness safely. Avoid daily use to prevent skin irritation.
Can Gua Sha Improve Facial Skin Health?
Yes, Gua Sha boosts blood flow and lymphatic drainage. It helps reduce inflammation, smooth wrinkles, and promote a healthy glow. Consistent use enhances overall skin texture.
Should I Apply Oil Before Using Gua Sha?
Always apply a facial oil or serum first. This creates slip, preventing skin tugging or damage. It enhances the tool’s effectiveness and protects your skin.
Conclusion
Using a gua sha tool correctly takes practice and care. Always move gently on your skin. Keep the tool clean and use it on damp skin. Follow the natural lines of your face or body. Regular use can help improve circulation and reduce tension.
Enjoy the relaxing feeling it brings. Remember, consistency matters more than speed. Take your time and listen to your skin’s needs. This simple routine can add calm to your day. Try it often to see small, positive changes.